|
Sanding session 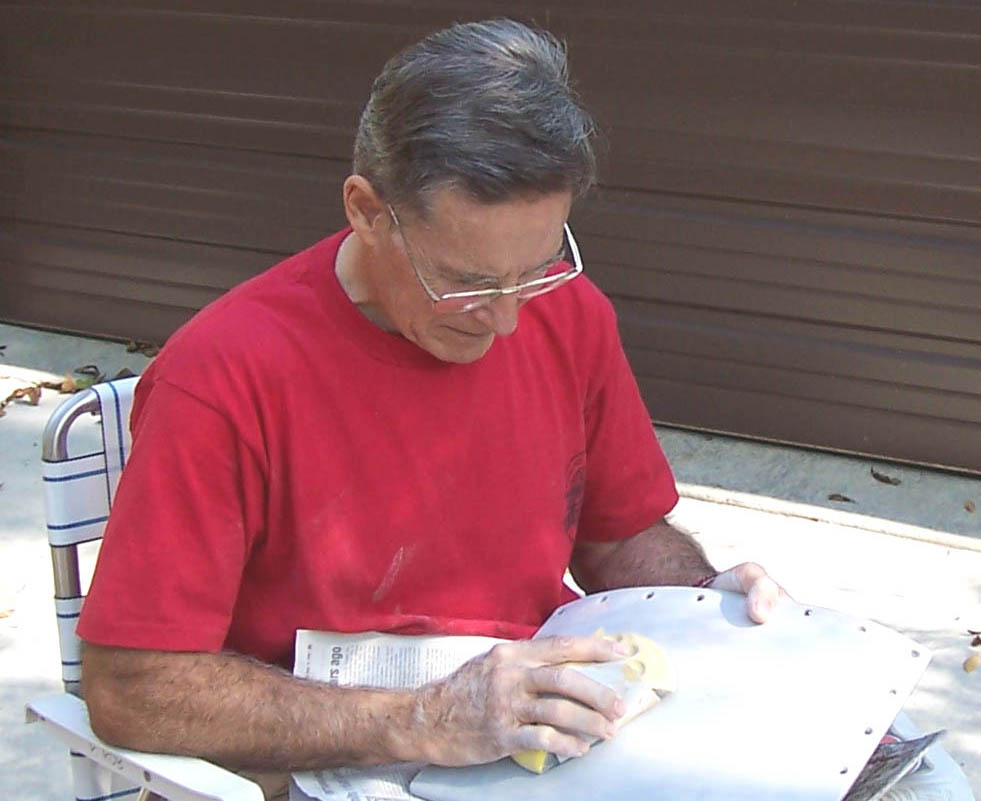 |
More Bondo 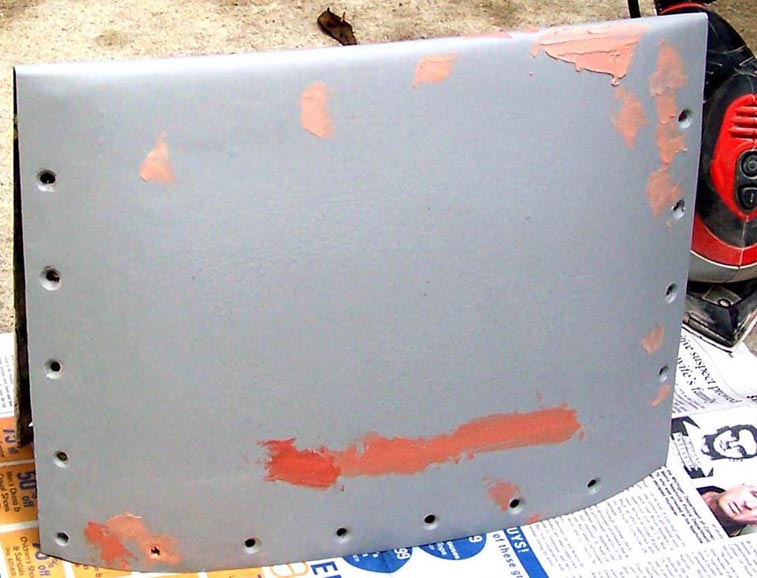 |
Final paint base coat. 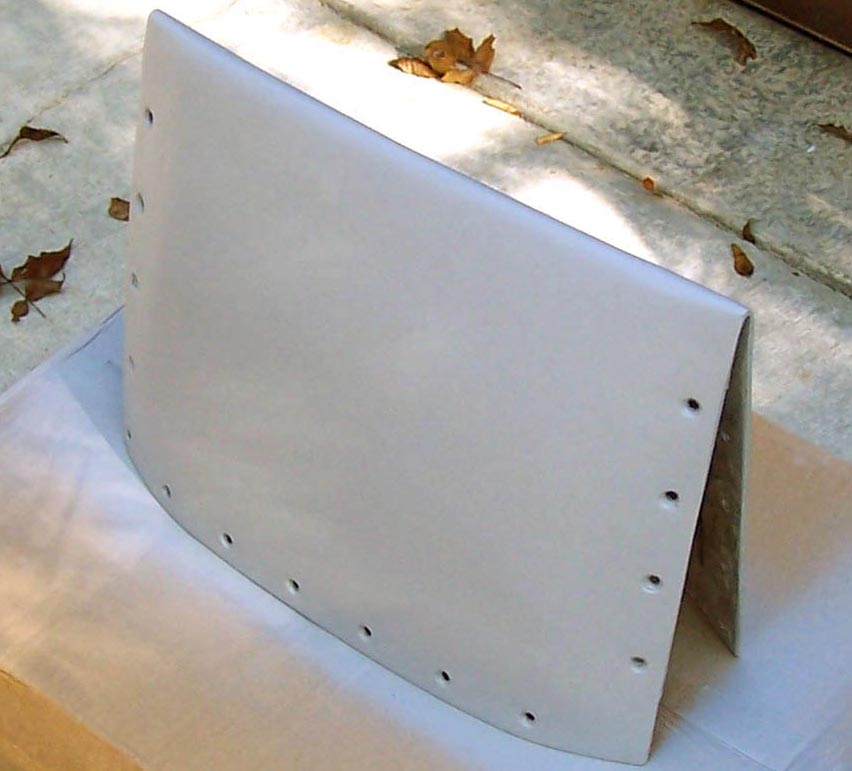 |
The gun radar cover was cracked and torn and, like the rest of the fuselage front end, it was beyond recovery. To make a new one, I first made a rough cast of the original. The cast was shaped with the help of lots of Bondo. Lots of sanding followed, after which I laid fiberglass strips over the properly shaped cast.
After the fiberglass had cured for a day, I pried it off the cast. (Fortunately, Steve Rettell had taught me that I had better cover the cast with lots of wax if I expected to pry the fiberglass off!) The fiberglass was then reinforced on the inside and more fiberglass layers were added to get the proper thickness ... that is, one that matched the original pieces of the gun radar cover. After the new layers of fiberglass were properly cured, I used Bondo to smooth the surface. When the Bondo had dried, more sanding was in order and then several coats of filler paint were applied, followed by more sanding. Next, the holes for the screws were drilled to match the screw holes in the intake. Two more filler coats and more sanding followed -- see Figure 1, cell 1.
More sanding meant discovering more flaws, so Bondo came to the rescue again, followed by more filler paint, and more sanding ... followed by more filler paint and more Bondo. (See Figure 1, cell 2.) Naturally, more sanding was required after that ... followed by two more coats of filler paint to produce the results you see in Figure 1, cell 3. (As you can tell by looking at Figure 1, cells 2 and 3, I accidentally filled one of the corner screw holes -- I re-drilled that hole later ...)
Note: You can enlarge the pictures by clicking on them.
|
Sanding session |
More Bondo |
Final paint base coat. |
After the new gun radar cover had reached the stage you see in Figure 1, cell 3, I sprayed the gun radar cover with a semi-matte black finish. In the meantime, Steve Rettell had riveted the small back plates in place on the intake, so all I needed to do was to use the new screws and washers to fasten the gun radar cover to the intake. That's when I discovered that the fit was less than perfect ... In short, it was time for another session with Bondo and some fiberglass filler. (See Figure 2, cell 1.) Naturally, a lot more sanding followed. After the gun radar cover surface was sanded smooth again, a gray base paint was applied, followed by more sanding, the application of another coat of gray base paint, and more sanding. (See Figure 2, cell 2.)
The final step in making the gun radar cover was the application of three coats of semi-matte black finish. Once that job was completed, the new fasteners were screwed in to hold the gun radar cover in place to get ready for the photo session that produced the picture you see in Figure 2, cell 3.
Note: You can enlarge the pictures by clicking on them.
|
Initial installation 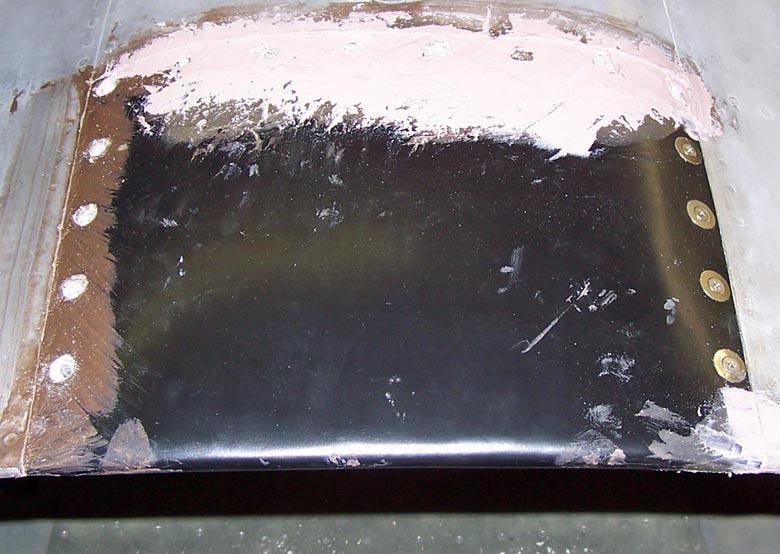 |
Almost done 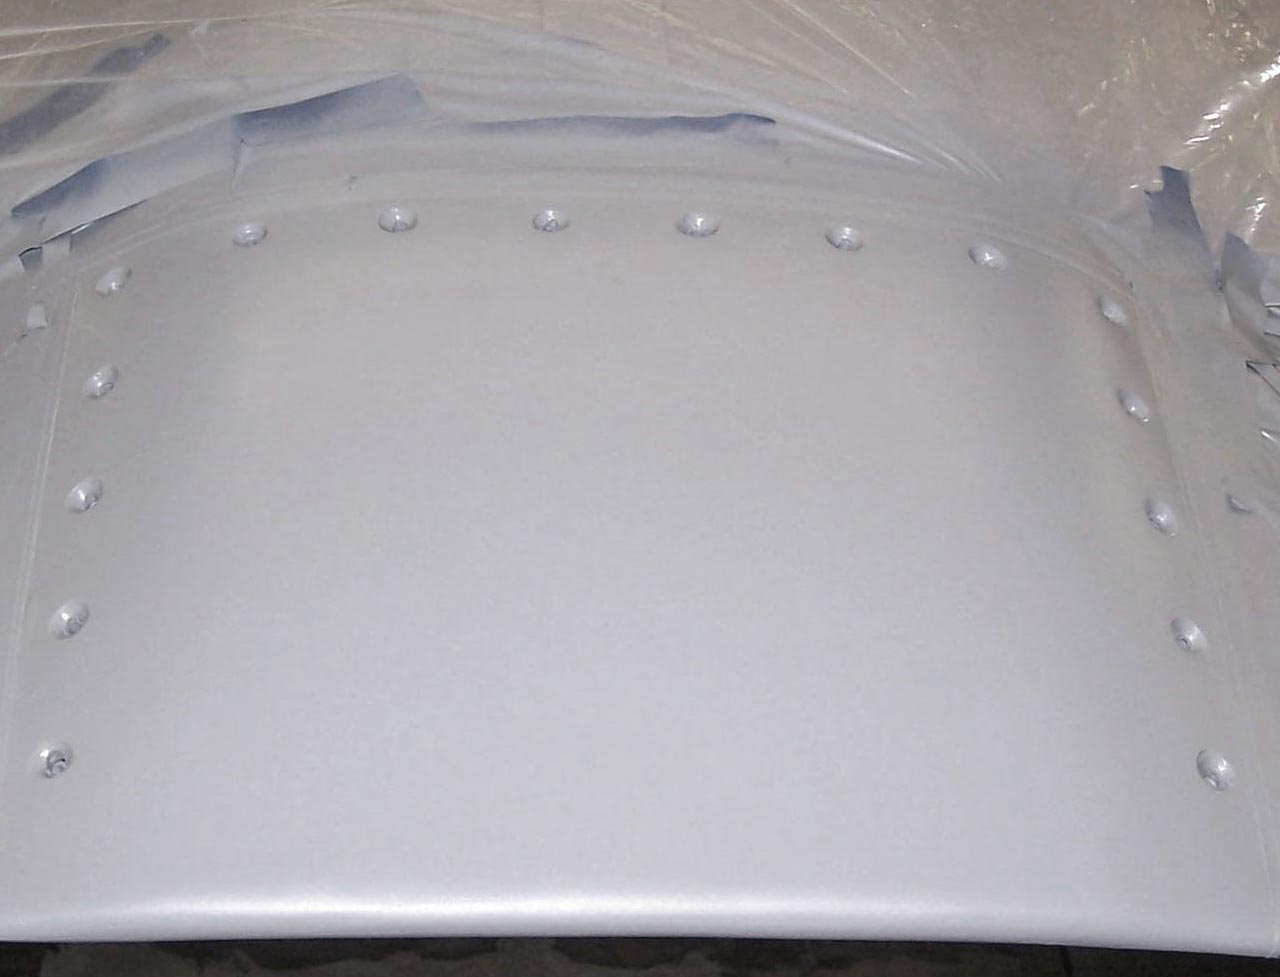 |
Completed Cover 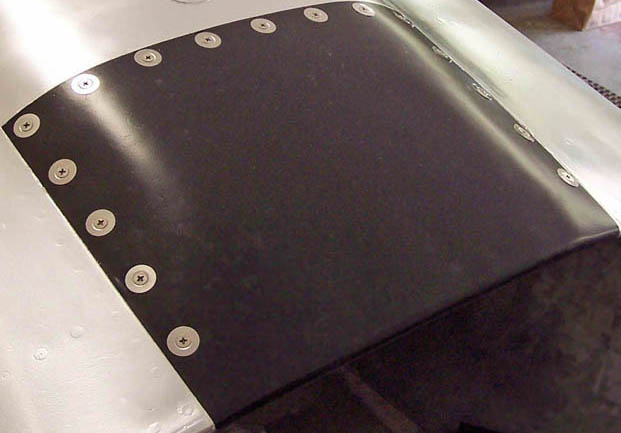 |
As this major "modeling" project moves forward, I will post pictures of the progress we're making. I may not be able to have a real F-100 ... but a properly contructed full-scale model will not be distinguishable from the real thing. Stay tuned.
If you want to return to the home page, you can either click on the Home link shown here or by clicking on the Home link shown on the navigation bar on the left side of your screen. (You can always use any of the navigation bar links to move around this website.)